7 Creative and Remarkable Website Footers Design for Inspiration
Designing creative footer design is sophisticated and complex process in…

High-Performance Web Designs for the Coolest Tech Devices
Creating advanced web designs for mobile was once an impossible…

Understanding the Significance of Using Symbols in Logo Design
Logo design is a challenging and creative task for a…

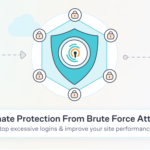
10 Excellent Web Design Tips to Maximize your SEO
There are numerous ways that a Web developer can make…

Top Tips To Transform Your Photoshop Designing Skills
Designing is the aesthetics part in web development, however now…

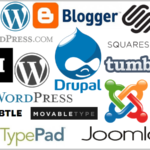
5 Advantages of Using a CMS to Design your Intranet
Content management systems have taken web design by storm. Nearly…